Friday, December 21, 2012

1930s China Cabinet Update

I was hoping to finish this project before Christmas but I've decided it isn't going to happen. Some of the hardware I ordered is back ordered so I will just have to wait.
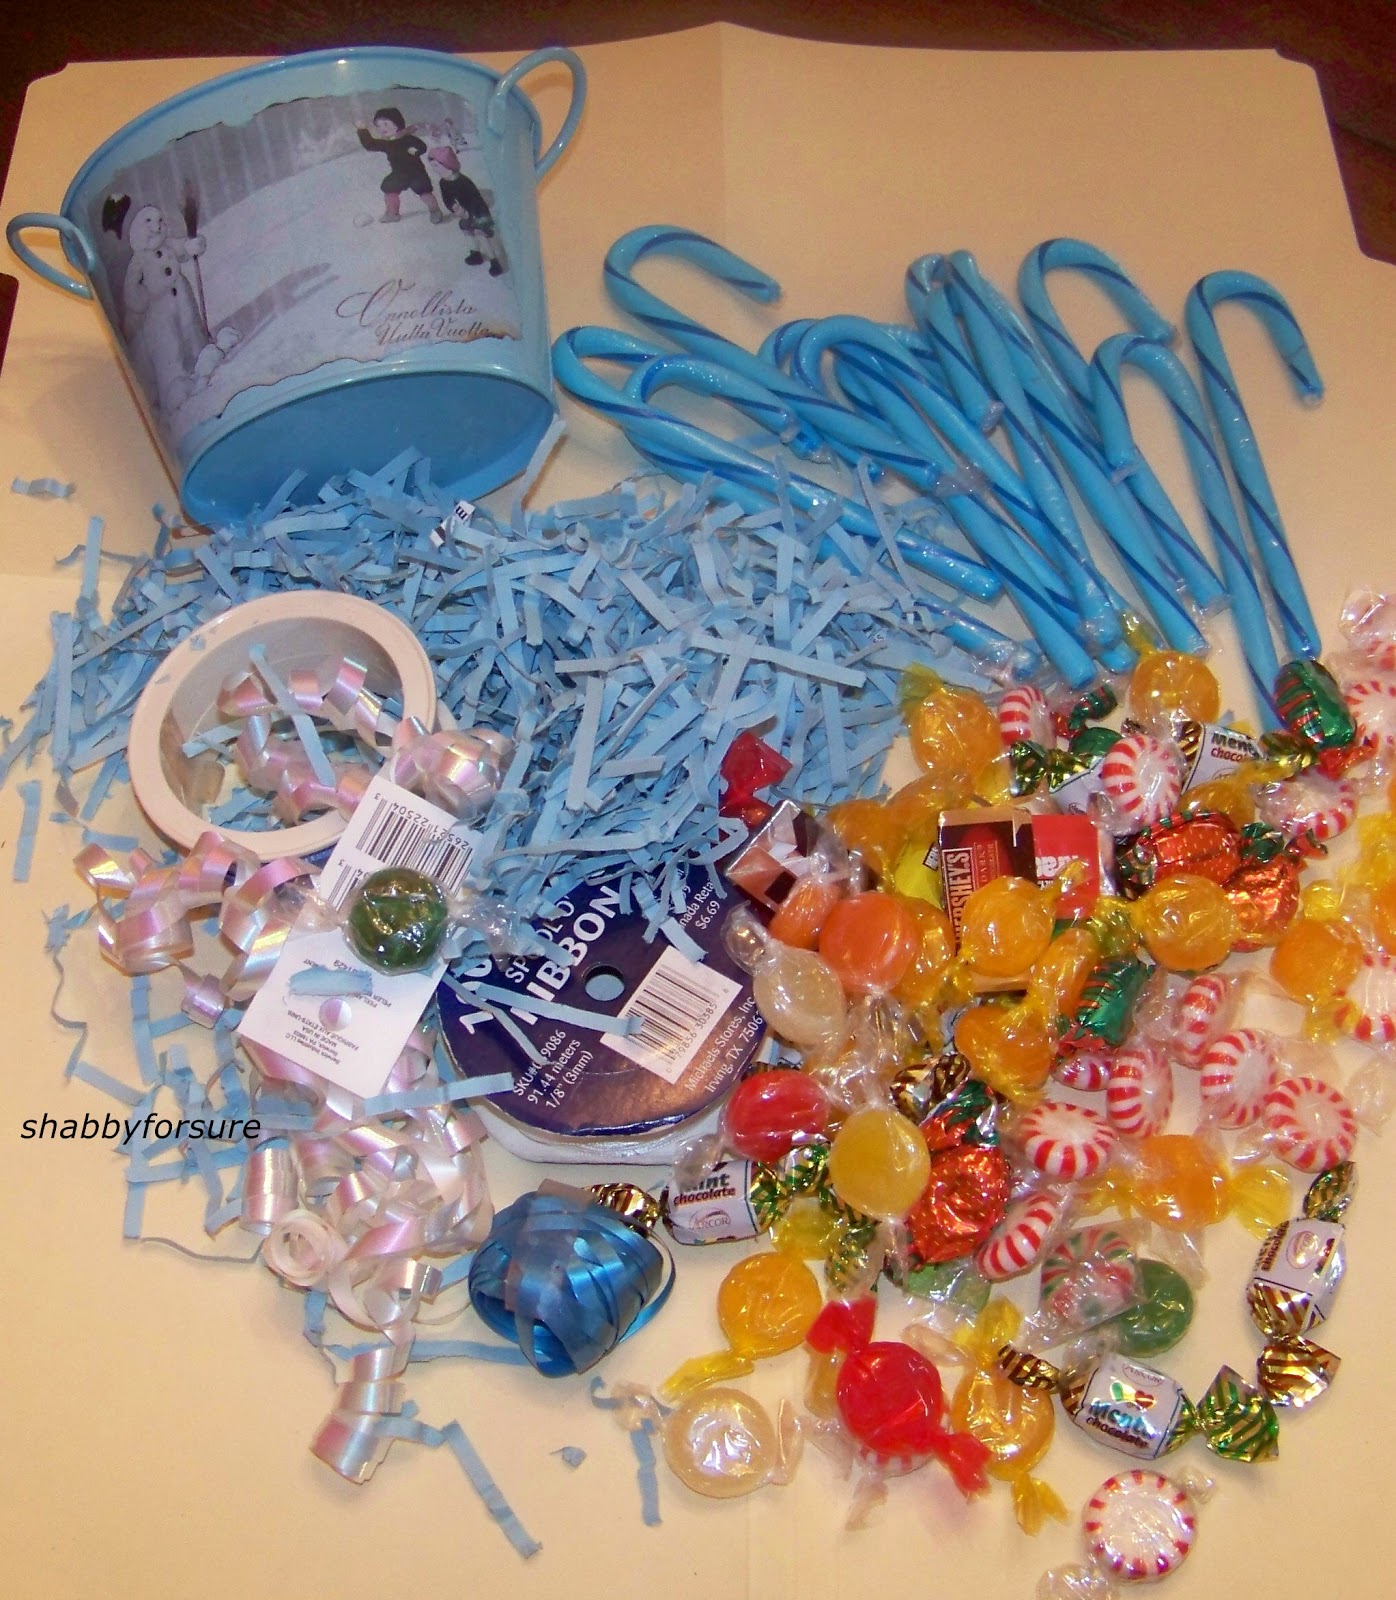
So for those of you that have been checking on my progress, I will give you a sneak peek.


To refresh your memory, here is a "before" picture.


I decided to paint the outside of the cabinet Heirloom White. On the inside I used Bird Song Blue.
This has been a big project.
So far I've worked about 20 hours but it will be so worth it when I'm finished.


Mr. Shabby did a wonderful job repairing the broken/missing fretwork.
After I painted the cabinet, I lightly distressed it.
I wasn't sure if I should distress the fretwork or not but it looked "too new" after I painted it.
A talented friend of mine suggested I add a little of the blue to the inside edges.
I pretty much had to distress it to make it look right.


The fretwork on this piece is just beautiful.
As soon as I finish this project I will be sure to show it to you.


Saturday, December 1, 2012

1930s China Cabinet


Those of you who follow me know I love to paint furniture, but I don't usually paint good pieces. I like to find pieces that are really bad, then transform them into beautiful, useful pieces..
When I bought this china cabinet a couple of weeks ago it was tied to the back of a pickup truck and the glass had slid part way out making it look like it was broken (turns out it wasn't).
 It was filthy and stinky, too.
But after I got it in my shop and took a closer look at it, it was in better shape than I first thought.
The major things wrong with this are: The fretwork that is so beautiful is partly missing and it looks like a can of stain was sitting on the top and dripped down one side on the front. Plus it looks like the pediment has been replaced at some point.
So, all things considered, I consider this piece borderline. If I clean it up and repair it, the value would be about the same as if it were painted.
After thinking about it for two weeks I've decided I'm going to paint it.

After doing a little research, I learned this piece was produced by the Reaser Furniture Co., in Gettysbury, Pa. sometime in the 1930s.


The fretwork is really beautiful.


Also, when I decide on a color, I will paint the inside of the cabinet and the inside of the very large drawer the same color.
The beveled rim around the glass door would also be painted the same as the inside of the cabinet.


At this stage I also plan to eliminate the pediment.
It adds nothing to the piece.


Here you can better see the streaks running down the front.
My plan is to replace the top shelf with a glass shelf (maybe both shelves).
I would like to add a light.
I haven't decided what to do with the hardware yet.
I think I will probably paint the outside Heirloom white with a Burnt Umber glaze.
Then of course, I would distress it giving it a shabby chicc look.
I probably won't get started on this 'till next week so any input you have would be greatly appreciated.
Thanks for looking...Connie


Thursday, November 29, 2012

Christmas Nostalgia

Earlier this month when I set up at the Fancy Flea, a vintage home and garden market in Lakeland, Florida I sold some of my vintage Christmas decorations.
Now I wish I had them back.
Anyhow, onward and upward.
I'd like to show you a few treasures that I will be using to decorate my house.
Most of these are recent finds.
 

When I first saw this plastic snowman woman, I passed it up. Don't ask me why.
She is slightly damaged on the back but that really doesn't bother me.
She's lighted.


In the upper left hand corner is a Christmas chair cover. One of 4 I bought this morning.
The ornaments in the large jar are old but the jar is new. I bought it with my Christmas money from last year.
The snow dome is very large.


The large snow dome is old but I don't know how old. It was made in Germany.
Love the snowman with the palm tree.
Very Florida.


I love these old, plastic bells.


Look how the electric is attached.


I've never seen a funky Santa like this one.
He is very thin and made of a hard substance. Like shredded milk cartons, or perhaps shredded plastic shopping bags.
Have you ever seen one like this?


Love the little devilish elf.
He's actually green but he looks blue in these pictures.


Oh, how I love these little angel ornaments.
I bought the "Linda" for my neighbor but I may have to rethink that :)

Speaking of angels, how about this little tree topper?


39 cents each. I'll take a dozen, please.


How about these plastic icicles?


The chair cover. I don't know how old these are, but they are pretty nice.


Linking to:


vif187


Friday, November 23, 2012

Dollar Tree Gift Tub

When I bought these little tin tubs at the Dollar Tree I thought it would be a great idea to fill them with candy, then use them as Christmas gifts.
Then I read about Debbiedoo's Dollar Tree Christmas Crafts Party and decided I would make something and join in the fun.

My original intention was to use the Mod Podge Transfer, a technique I had used in a previous project:    My $2.00 Ugly Chair  .
After changing my mind a couple of times I decided to go with the Adorable Snowman, an image I downloaded from the Graphics Fairy. And instead of doing a transfer, I decided to just do a decoupage.
I would probably get more done if there weren't so many choices for these projects. 

I like how this turned out.


My first choice was a bird graphic but later I found some cellophane wrapping paper depicting snowmen, so I changed the graphic to the Adorable Snowman.


For an aged look, I burnt the edges of the paper a little bit.


I glued it on and sealed it using Mod Podge.


I shredded some blue paper to use as fill.
The blue candy canes came from Walmart.


Who wouldn't like this?

This is the first one I made.
It didn't take a lot of time, and it didn't cost a lot of money.
 
Linking to:
 
Debbiedoo's
 
 
The Graphics Fairy


Tuesday, November 13, 2012

From Pretty Ugly To Pretty Pretty

I bought this old, dirty radio cabinet awhile back thinking I would give it an updated look. I sort of let it lay around for awhile waiting for some inspiration. Well, a few days ago I set up at The Fancy Flea, a vintage home and garden market, in Lakeland, Florida and as usual, I  came home full of energy and inspiration.

This piture shows the finished piece.
In the next picture you will see the "before".


At this point, I had cleaned the underneath and primed the base using black DIY chalk paint.
To make the chalk paint you just add Plaster of Paris to your paint with a little bit of water. I experiment until I get the consistency I want.
It looks like some kids had played hangman on the front of it.


Right away I could see this piece had potential.
Even though it was beat up pretty bad, it was sturdy and I like the way the doors swing open all the way around the sides.


This is the first time I ever primed an entire piece black.
My intention was to prime black, finish with white, then distress letting some of the black show through.
During the project I changed my mind on the color.


Nothing ever goes as planned. I intended to paint the insides then have Mr. Shabby For Sure add the new back.
I came to work one morning and he proudly showed me he had added the new back.
It made the paint job a little harder but I never said anything.


When I got to this part I changed my mind on the color.
After I painted the inside white, something was bleeding through. I spritzed the spots with Rustoleum Heirloom White spray paint and loved the color immediately.


Here it is after I added Gliddens eggshell paint + primer.
I took the cap from the Rustoleum spray can and had it color matched at Lowe's.
Then I made a glaze using watered down burnt umber paint.
I experimented with the proportions until I got the color I wanted.
After I glazed it I distressed it using 80 grit sandpaper.

This is what it looked like when I added the glaze.
I would add the glaze then quickly wipe it off.
If it dried out while I was wiping it off I just gave it a swipe with a damp rag.


I love how it turned out.
I know it is clean inside and out and it is ready to use.
My plan was to paint the hardware but the original color of the handles turned out to be perfect.


I love the color combination using heirloom white paint and burnt umber glaze.
This paint job looks naturally old.


The black primer turned out to be unnecessary.
I didn't do a heavy distress and none of the black ever showed through.


Here are the products I used: Glidden eggshell Heirloom White paint + primer. (I was only going to buy a quart but decided to buy a gallon. It's a lot cheaper in the long run). I bought the black paint at Walmart. The Rustoleum I bought at Home Depot. The Folk Art burnt umber I bought at Walmart, too.
80 grit sandpaper.
I finished the job with 2 coats of Johnson past wax. I've had it for a long time and forget where I bought it.


Sometimes people see my painted furniture and ask me why I would ruin a perfectly good piece of furniture by painting it
I'm sure you've all heard it, too.
I'm pretty sure if I hadn't "rescued" this piece it would have ended up in the landfill.
I worked on this piece everyday for a week, allowing each application to dry overnight.
It was a lot of work but I couldn't be happier with the end results.


Linking to:


Related Posts Plugin for WordPress, Blogger...